In the previous chapter, you have installed the Apache web server enabled with PHP and MySQL on your local computer. You don't need the web hosting account to test Joomla anymore. Now, you can install Joomla and run it locally. In this chapter, we will explain how to install Joomla, step by step.
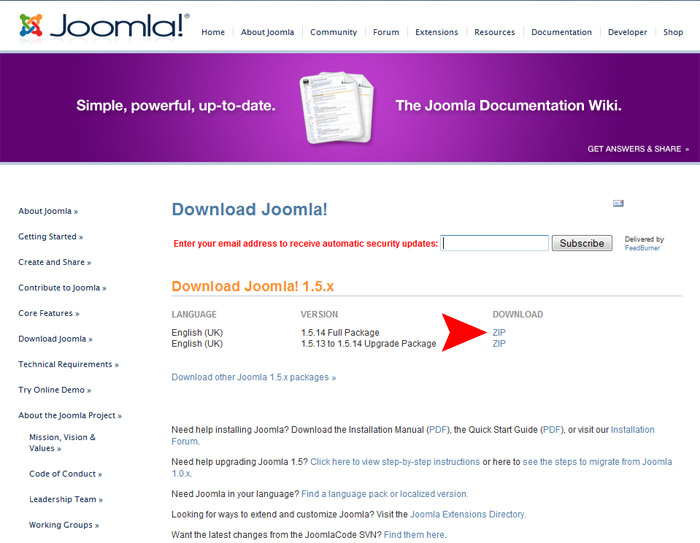
1. For start, you'd need to download the latest Joomla 1.5.x release. Visit this address and download ZIP archive that contains the full package of the latest Joomla release. Save this archive somewhere on your computer.
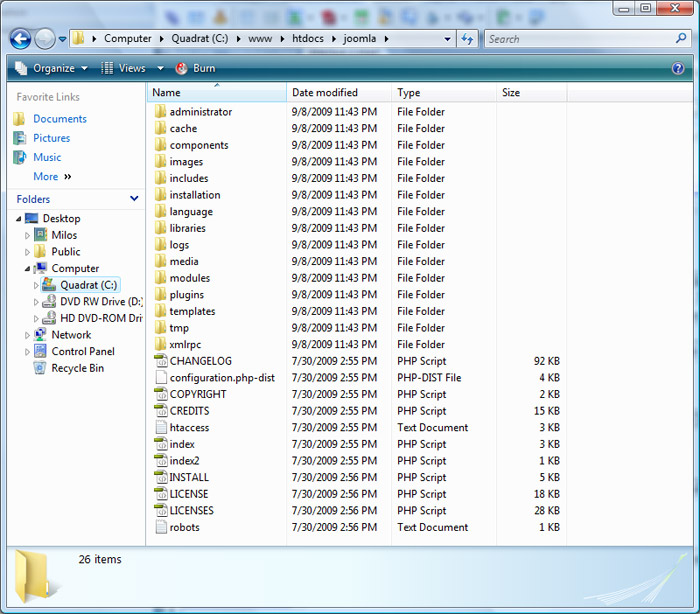
2. Using file explorer (such as My Computer or Total Commander) browse to folder where you installed the web server (XAMPP) previously (in our example, it was C:\www). In this folder, you will see htdocs folder. Open it. All server-side programs should be placed in this folder. XAMPP already comes with some examples (like biorhythm.php that's inside C:\www\htdocs\xampp and many more). Create a new folder in C:\www\htdocs and name it in example joomla. Unpack all the files from the ZIP archive you downloaded into this folder (C:\www\htdocs\joomla).
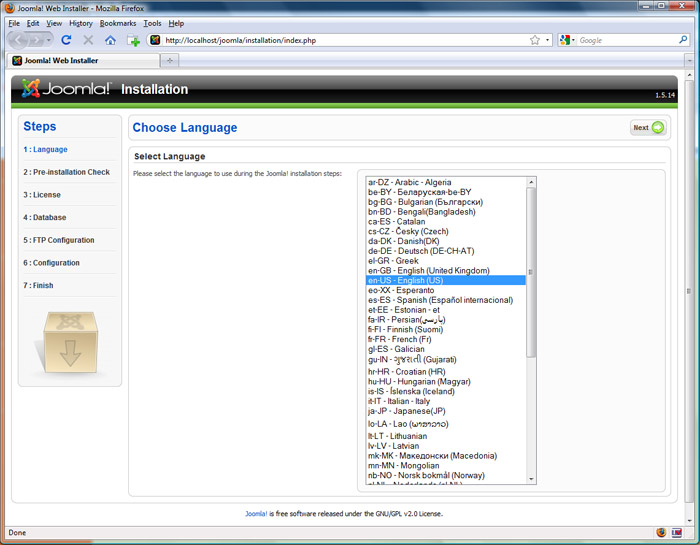
3. Open XAMPP Control Panel and make sure that services Apache and MySQL have RUNNING statuses. Open your favorite browser and go to address http://localhost/joomla. Joomla 1.5.x installer will open. The first screen asks you to select the language to use during the Joomla! installation steps. English (US) is selected by default. Click Next button (top right).
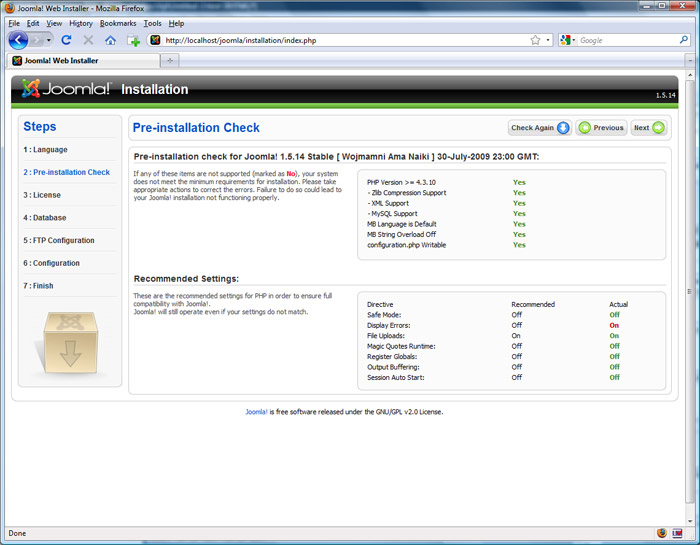
4. The next screen checks if your server meet the minimum requirements for installation. If you are doing this installation on the fresh installed XAMPP, you should be good to proceed. Click Next again. The next screen shows you GNU General Public License, so you can click Next once again.
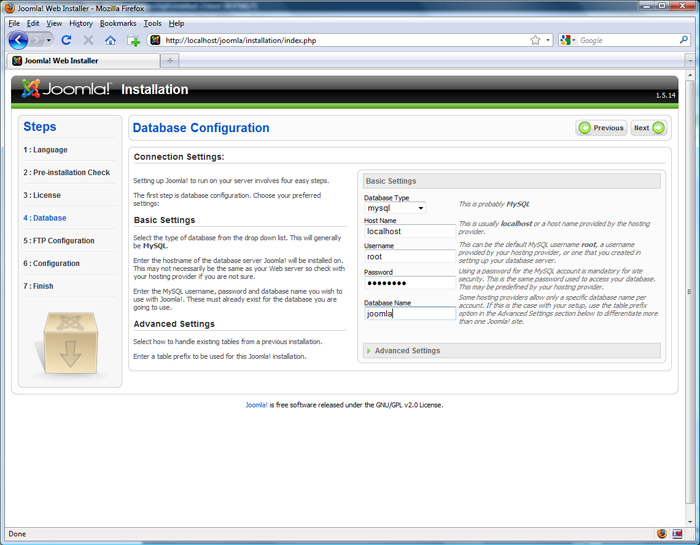
5. This step is probably the most important. You'd need to enter the database server (MySQL) parameters. Database type is mysql. If you are installing Joomla on the local server (XAMPP), for Host Name enter localhost. If you are installing Joomla on hosting provider's server, the Host Name can be localhost or something else (ask your hosting provider about it). The next field is Username. For local installation, enter root. The next field is Password. If you didn't select a password for the root user in XAMPP (step 14 of this tutorial), leave this field empty. If you did select a password, type it here. The last field is Database Name. Type name of your new database (such as joomla). The installer will create this database for you, if you are installing locally. Otherwise, you should have database created prior to Joomla installation. You don't need to change anything under the Advanced tab. Finally, click Next.
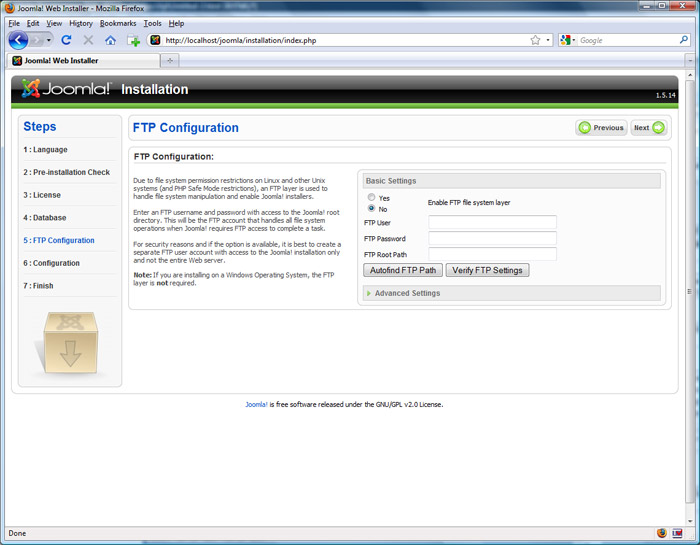
6. In this step, you can enable FTP file system layer. You don't need it for local installation. So, don't change anything. Click Next.
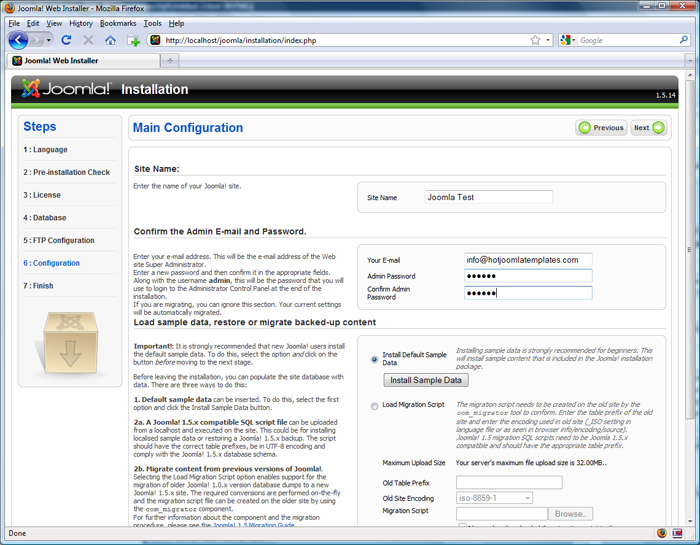
7. We passed the technical details. Let's tell installer some details about our future Joomla site in this step. Enter your Site Name, your e-mail address, and your super administrator's password (enter it twice). You would be the super administrator of this website, right?! Don't click Next yet! Before doing that, click Install Sample Data button. The installer will inform you that sample data are installed successfully. The sample data contains sample articles, menu items, modules, etc. When you have sample data, it's easier to get familiar with Joomla. If you are an experienced Joomla user, you probably don't need to install the sample data. Anyway, you can click Next to continue. (The bottom of this screen is important if you are migrating from the old Joomla 1.0. You don't need it here.).
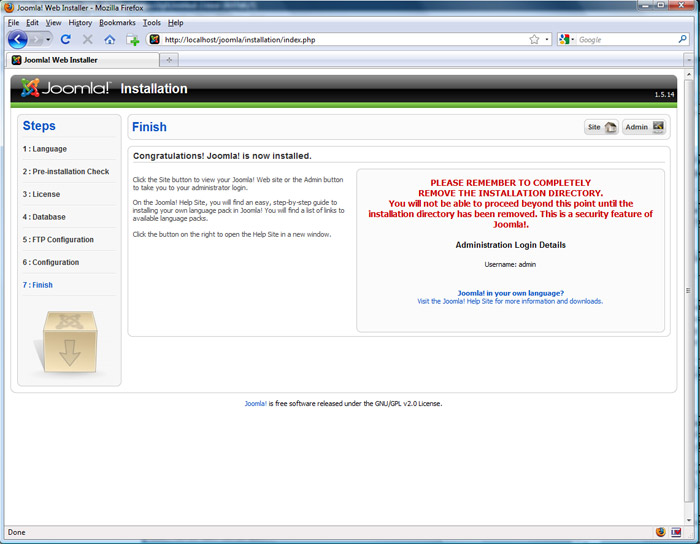
8. Congratulations! Joomla is now installed! But... One simple, but important thing is left to be done. Delete entire folder C:\www\htdocs\joomla\installation. After that, you definitelly finished the installation of Joomla on local computer.
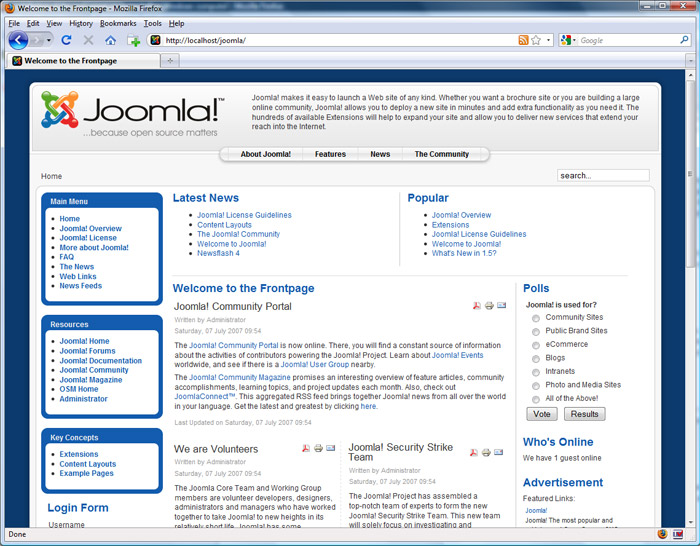
9. Let's see what we have done. In browser, go to address http://localhost/joomla. You should see the front end of fresh Joomla 1.5.x.
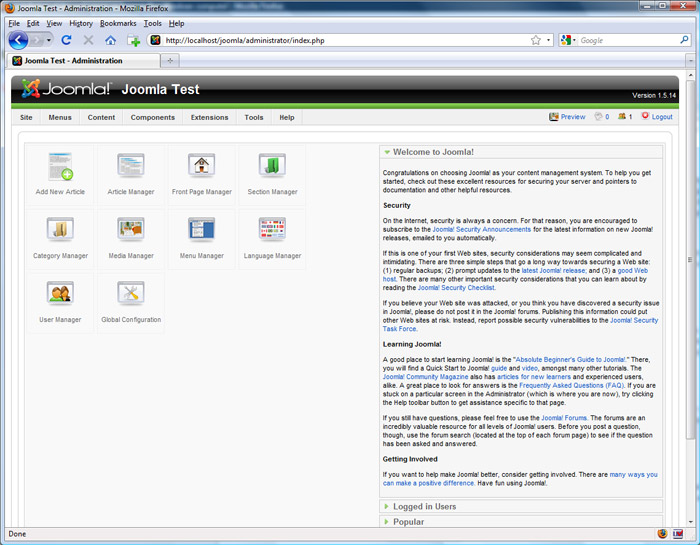
10. How to get into the administrator's panel? Go to address http://localhost/joomla/administrator and login with admin as user name and password that you selected during the installation. You are now in the Administration of Joomla 1.5.
Conclusion:
Congratulations! Now, Joomla 1.5 is now installed on your local computer. You can test Joomla in your home or office, on your personal PC with Windows or Mac. This is the perfect solution for learning Joomla. You don't even need Internet connection to play with Joomla locally. All you can do with Joomla on hosting provider's server, you can do now on your own computer. You can develop entire website with Joomla locally and then transfer it to the live server. More about that in the coming tutorials.