After the installation procedure, your Joomla site will remain unchanged. You will need to activate your new Sparky template and make some settings.
Template Activation
To activate the Sparky Framework Joomla template, do the following steps:
- Login to your Joomla Administration panel.
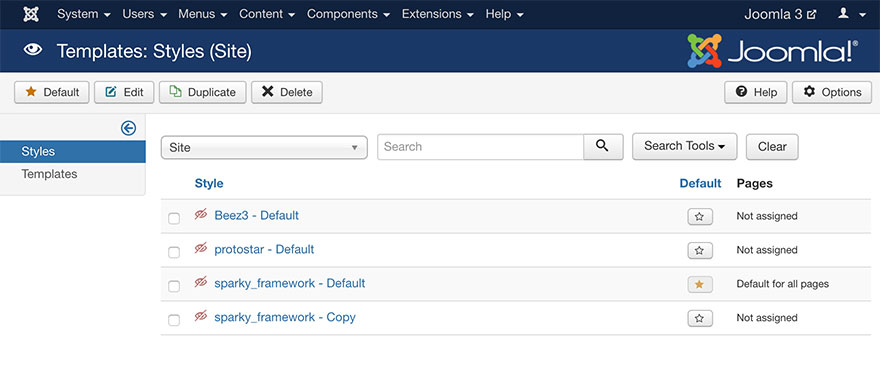
- Go to Extensions > Templates (Joomla 3.x) or System > Templates > Site Template Styles (Joomla 4.x).
- Find the row with sparky_framework - Default and set it as default template by clicking the star button.
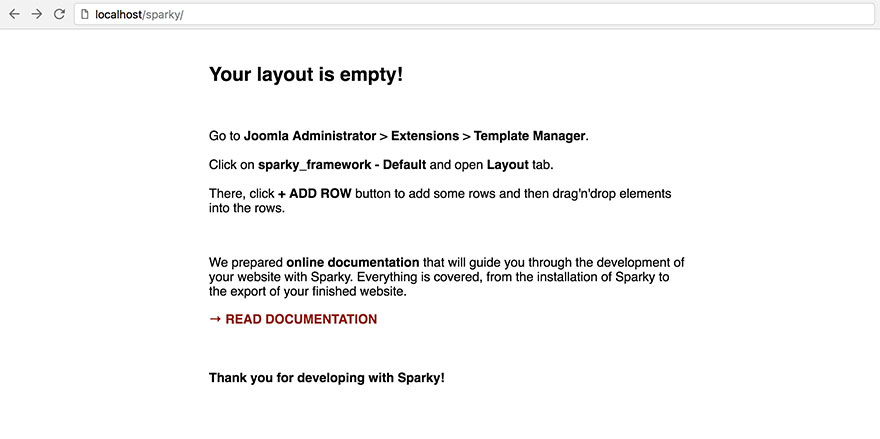
- Check front-end of your site and you will see a message that your layout is empty (on some Joomla configurations, you will see a blank screen).
Making an Initial Layout
Let’s make an initial layout, so you can start working.
- Login to your Joomla Administration panel.
- Go to Extensions > Templates (Joomla 3.x) or System > Templates > Site Template Styles (Joomla 4.x).
- Find the row with sparky_framework - Default and click on it.
- You are on the Sparky’s template options page now. Click the Layout tab.
- Click Add Row button one or more times and one or more empty rows will be added to your layout.
- Drag and drop some of the module positions (gray blocks), menus (green blocks), features (blue blocks) and main Joomla content (red block) to your layout rows. Once you drop a block into the row, you can resize it as needed. Hold and move the block’s right border to the right or to the left.
- Click Save & Close button.
Your site’s front-end will be changed. Now, you can see the main Joomla content (if you dropped the main Joomla content to any row). Besides that, you will see some module positions (if they contain modules published), and other elements.
You can change your layout anytime. Learn more about Sparky’s Layout in the next chapter.